AI写真人像绘画:照片级真实感与影楼质感的精准还原技法
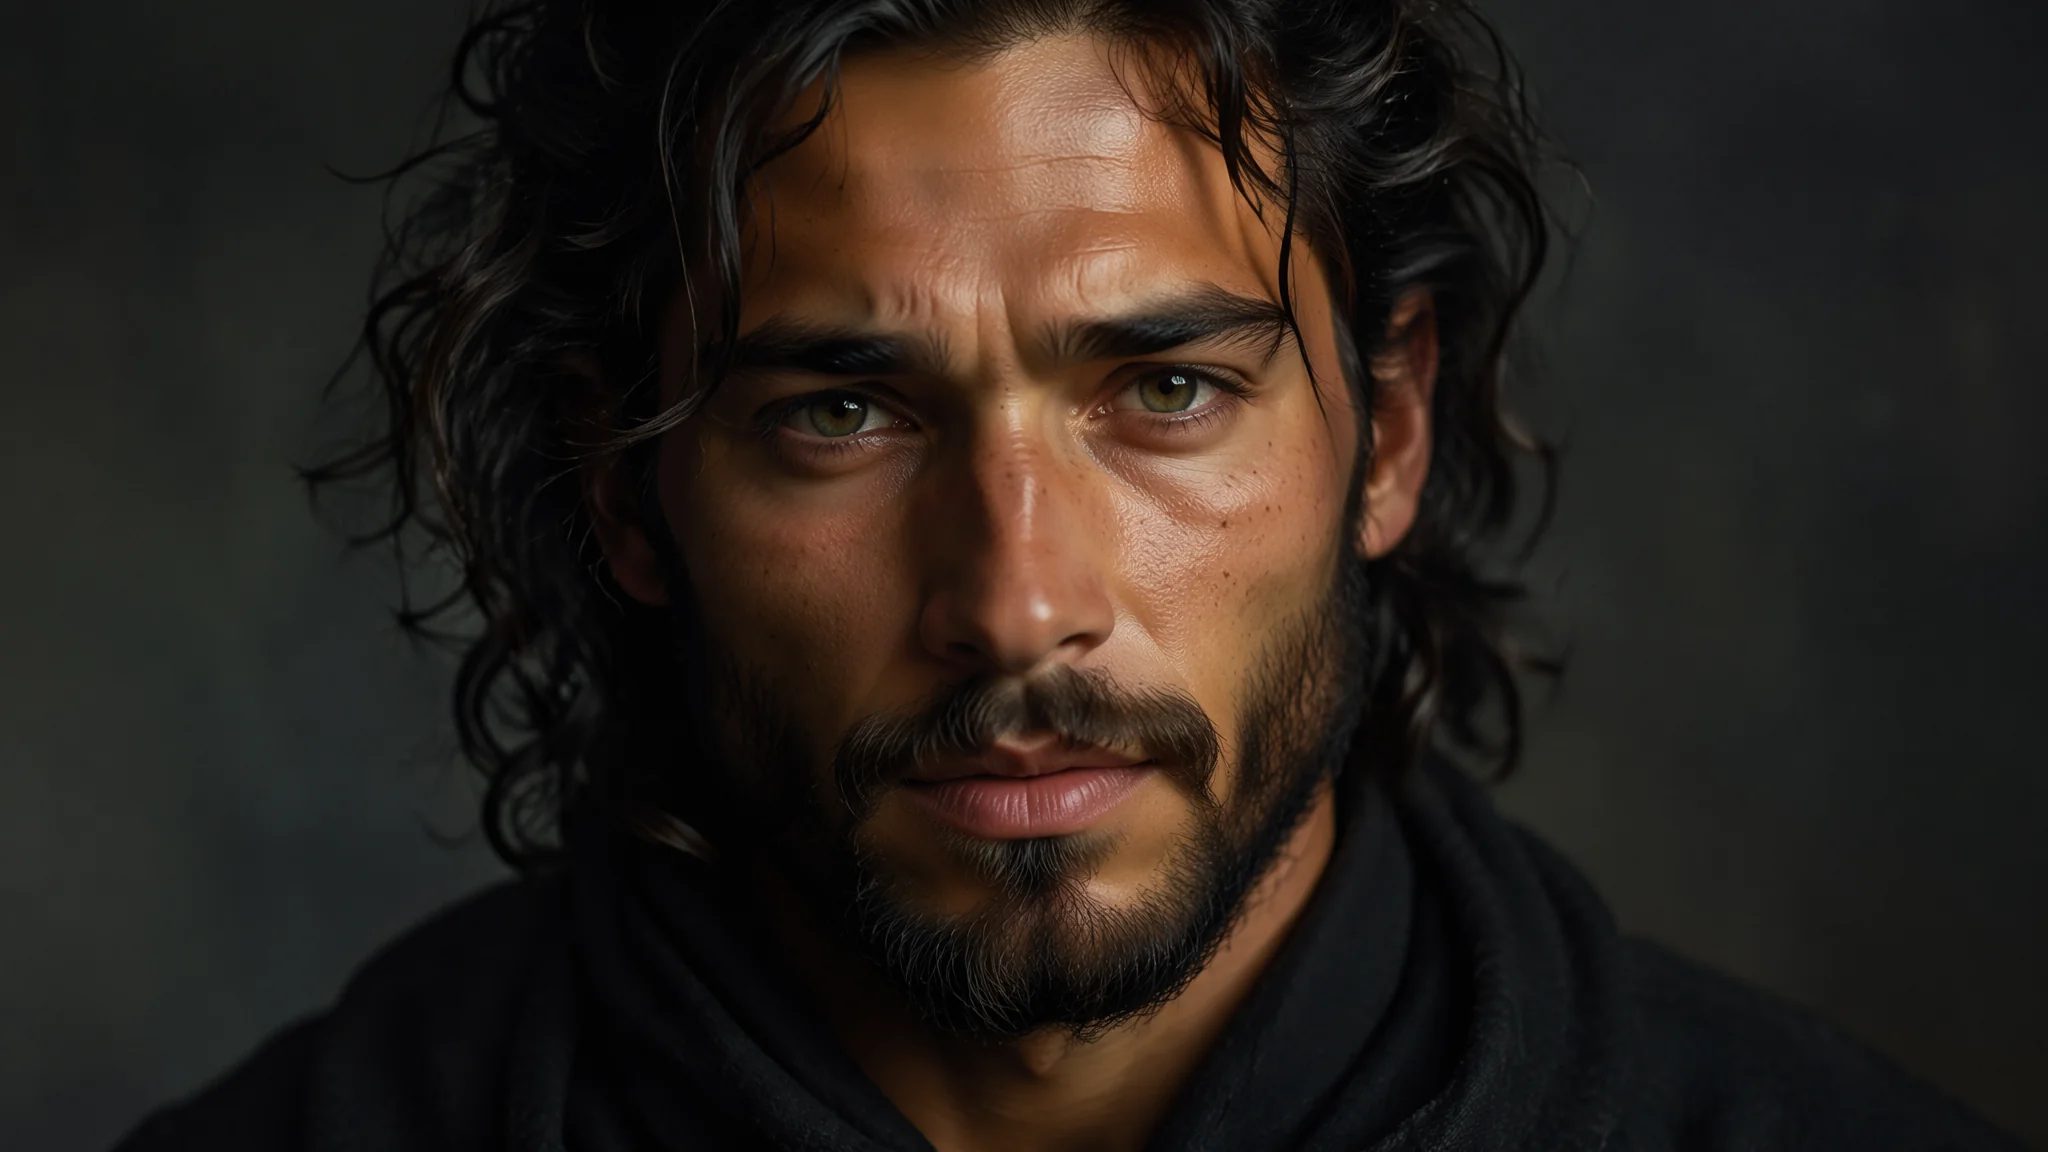
简单说:AI写真人像已经到了「99%的人分不清」的阶段。毛孔、睫毛阴影、瞳孔反光、嘴唇纹理——这些微观细节的还原度已经超越了绝大部分中端单反直出的效果。剩下那1%的破绽,靠提示词里的几个关键词就能堵上。
去年帮我妈用AI「拍」了一组写真,她一开始拒绝——「AI画的能真吗?」我花了五分钟生成了一组室内窗光人像,发到她手机上。她回了一句:「啥时候拍的?我咋不记得穿过这件衣服。」那一刻我知道,AI写真人像的「图灵测试」已经被攻破了。继AI写真人像基础篇之后,这期我们深入那些决定「像不像活人」的微观细节。
皮肤质感的三层还原:表皮纹理、皮下散射和油脂光泽
AI人像和真人照片最大的差距在皮肤。假皮肤像塑料,真皮肤有三个物理层面的视觉特征。第一层——表皮纹理:「visible skin pores on nose and cheek area, fine vellus hair on face, micro-texture of healthy skin not airbrushed」。第二层——次表面散射(subsurface scattering):「light penetrating skin surface and scattering beneath, slight reddish glow in thin areas like ear rims and nostril edges」。第三层——油脂光泽:「natural skin oil sheen on T-zone, not matte but not overly shiny, healthy dewy complexion」。
这三个层次全写进提示词,皮肤质感直接从「CG动画」跳到「佳能85mm f/1.2人像镜头直出」。我在Midjourney上用v6.1模型验证过,次表面散射(SSS)的模拟是目前所有AI人像里最接近物理渲染的。三维层次的皮肤逻辑和AI皮衣质感绘画里的材质渲染原理是完全相同的一套光学框架。
眼部细节:人像灵魂的「三毫米」
判断一张AI人像真不真,看眼睛就够了。真眼有五个不可省略的细节:①角膜反光(catchlight):「catchlight reflection in eyes, small bright spot in upper quadrant of iris」。②虹膜纹理:「detailed iris texture with visible radial fibers, subtle color variations within the iris」。③瞳孔边缘:「sharp definition between iris and pupil, not a blurred transition」。④睫毛投影:「eyelash shadows cast on eyeball, subtle grey shadow line on upper sclera」。⑤眼白不是纯白:「sclera with natural slight blue-grey tint, not pure white, tiny visible blood vessels at corners」。
这五条是我从几百张真人特写照片里总结出来的。全写上以后,AI人像的眼睛活了。缺任何一条,眼睛就会有「洋娃娃」感。眼部细节的精度在AI吉卜力风格绘画那种偏动画风格里可以省略,但在写实人像里一个都不能少。
影楼布光的AI模拟:蝴蝶光、伦勃朗光和窗光
专业人像和路人自拍的区别,90%在布光。蝴蝶光(最常用的美人光):「butterfly lighting pattern, key light positioned directly above and in front of subject creating a butterfly-shaped shadow under nose, soft diffused main light」。伦勃朗光(戏剧性强):「Rembrandt lighting, triangle of light on the shadowed cheek below the eye, dramatic chiaroscuro effect, one side of face illuminated while other in deep shadow」。窗光(最自然):「window light portrait, soft north-facing window illumination, gentle wrap-around light quality, catchlights in eyes reflecting window shape」。
我自己拍写真最爱用伦勃朗光——那三角光斑在AI人像上的效果简直能以假乱真。和AI摄影风格绘画里的人像布光体系完全无缝对接。
发丝和服装的面料物理
头发是AI人像最容易翻车的部件。假头发像一顶头盔,真头发有飞丝、有层次、有光泽的渐变。写「individual hair strands visible on edges, flyaway hairs catching backlight, hair with natural volume and layers, subtle color variation from root to tip」。服装面料同样重要:「cotton fabric with visible weave texture, clothing draping naturally over body contours, subtle fabric fold shadows creating depth」。
一个高级检查点:鬓角部位的发丝过渡——AI经常把这里的头发画成「贴在皮肤上」。加「wispy baby hairs at temples, soft transition from hairline to skin」可以堵住这个常见的破绽。在人像质感把控上,Instagram上搜索「portrait photography lighting setup」能找到海量布光参考图,直接分析照片的光比和眼神光位置再反向推导提示词,效率翻倍。
常见问题
AI写真人像的手指总是画不好,多根少根的?
这是AI绘画的经典问题。两个对策:①把手的姿态限定在简单的动作(手自然垂下、手背后);②写「hands with five correctly proportioned fingers, natural hand pose relaxed」。最新的SDXL和MJ v6对手指的改善已经非常大。
人像的脸太完美了,不像真人,怎么增加真实感?
加「minor skin imperfections, faint freckles across nose bridge, slight asymmetry in face, one eyebrow marginally higher than the other, natural human flaws」。完美是AI的默认输出,真实需要刻意加「瑕疵」。
怎么让AI生成的写真保持同一个人的面部特征?
用Midjourney的--seed参数锁定噪点起点,或者用Stable Diffusion的IP-Adapter加载同一个参考人脸图。保持同一个seed值+相似提示词,AI会持续输出同一个人。
觉得有用的话分享给朋友吧。